I love finishing a BIG house project, but they require a lot of time and planning and are just not something that can be done all of the time. But… small projects- those are the projects that you can finish in minutes, hours, or an afternoon! They may be a SMALL project, but they certainly have a BIG impact.
So that brings me to a drawer organization project! How frustrating is it to open a drawer to grab something and it a) won’t open because something is jammed or b) you can’t get it closed again because it is overflowing! Not fun!! So set aside 15-30 minutes and work on 1 drawer a day. In a weeks time, you will have 7 drawers cleaned out! Just imagine the impact that will have on your day to day life!
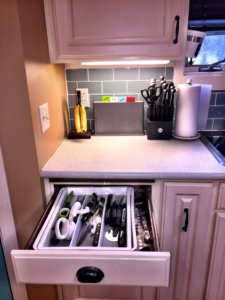 Here is a drawer that I worked on. It was cluttered and there was an old shelf liner in it. So I started by emptying it completely. The best way to start an organizing project!!
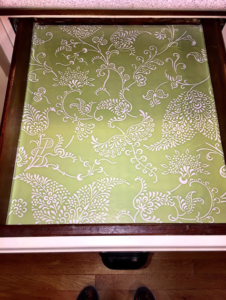
Next I put a new shelf liner in the drawer. This can be a little tricky- you want to measure and accurately cut it, then have a flat object to press it down as you un-peel the backing.
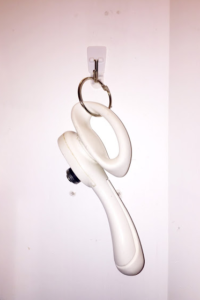
When organizing it is essential that after clearing out a space (in this case my knife drawer) if each items is something that gets used. If not donate, recycle or throw away. While going through this process another important question to ask is if this item is where it should be or does it need to be kept somewhere else? In this project, I first realized I had way to many things in this drawer. Not only was the drawer full of knives, but I also had a countertop knife block on the counter. So I purged the knives that we weren’t using. I re-homed some of them to our camping gear. Secondly- I had been keeping the can opener in this drawer, and realized it would be really handy to keep it in our pantry right by the cans! So I used a command hook to hang it on the pantry wall.
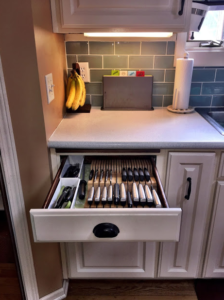
Then I put all of the items that “made the cut” 🙂 Also if you notice I got rid of the counter top knife block, which left the counter less cluttered.
Recap of the steps of this small drawer organizing project:
Step 1: Remove everything from the drawer
Step 2: Sort, purge, and move items if needed
Step 3: Wipe out drawer and put on new shelf liner
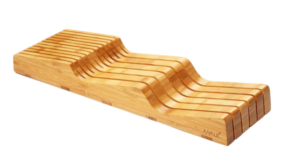
Step 4: Find the right organizing tool ~remember to measure before you purchase something- had to learn this one the hard way 🙂
Step 5: Put items back in their new, clean space!!
BEFORE
AFTER
Thanks for stopping by!
Faith
The links in this post contain affiliate links and I will receive a small commission if you make a purchase after clicking on my link.
